Connect

Maybe this is more of a disconnect from the boring business of acting like an adult, but today I am going to make paper dolls.  Because they are connected to each other and also ridiculously cute.  I’m sure I read somewhere that it’s a good idea to connect with ones inner child every so often so we’ll just call this artistic therapy and leave it at that.

001
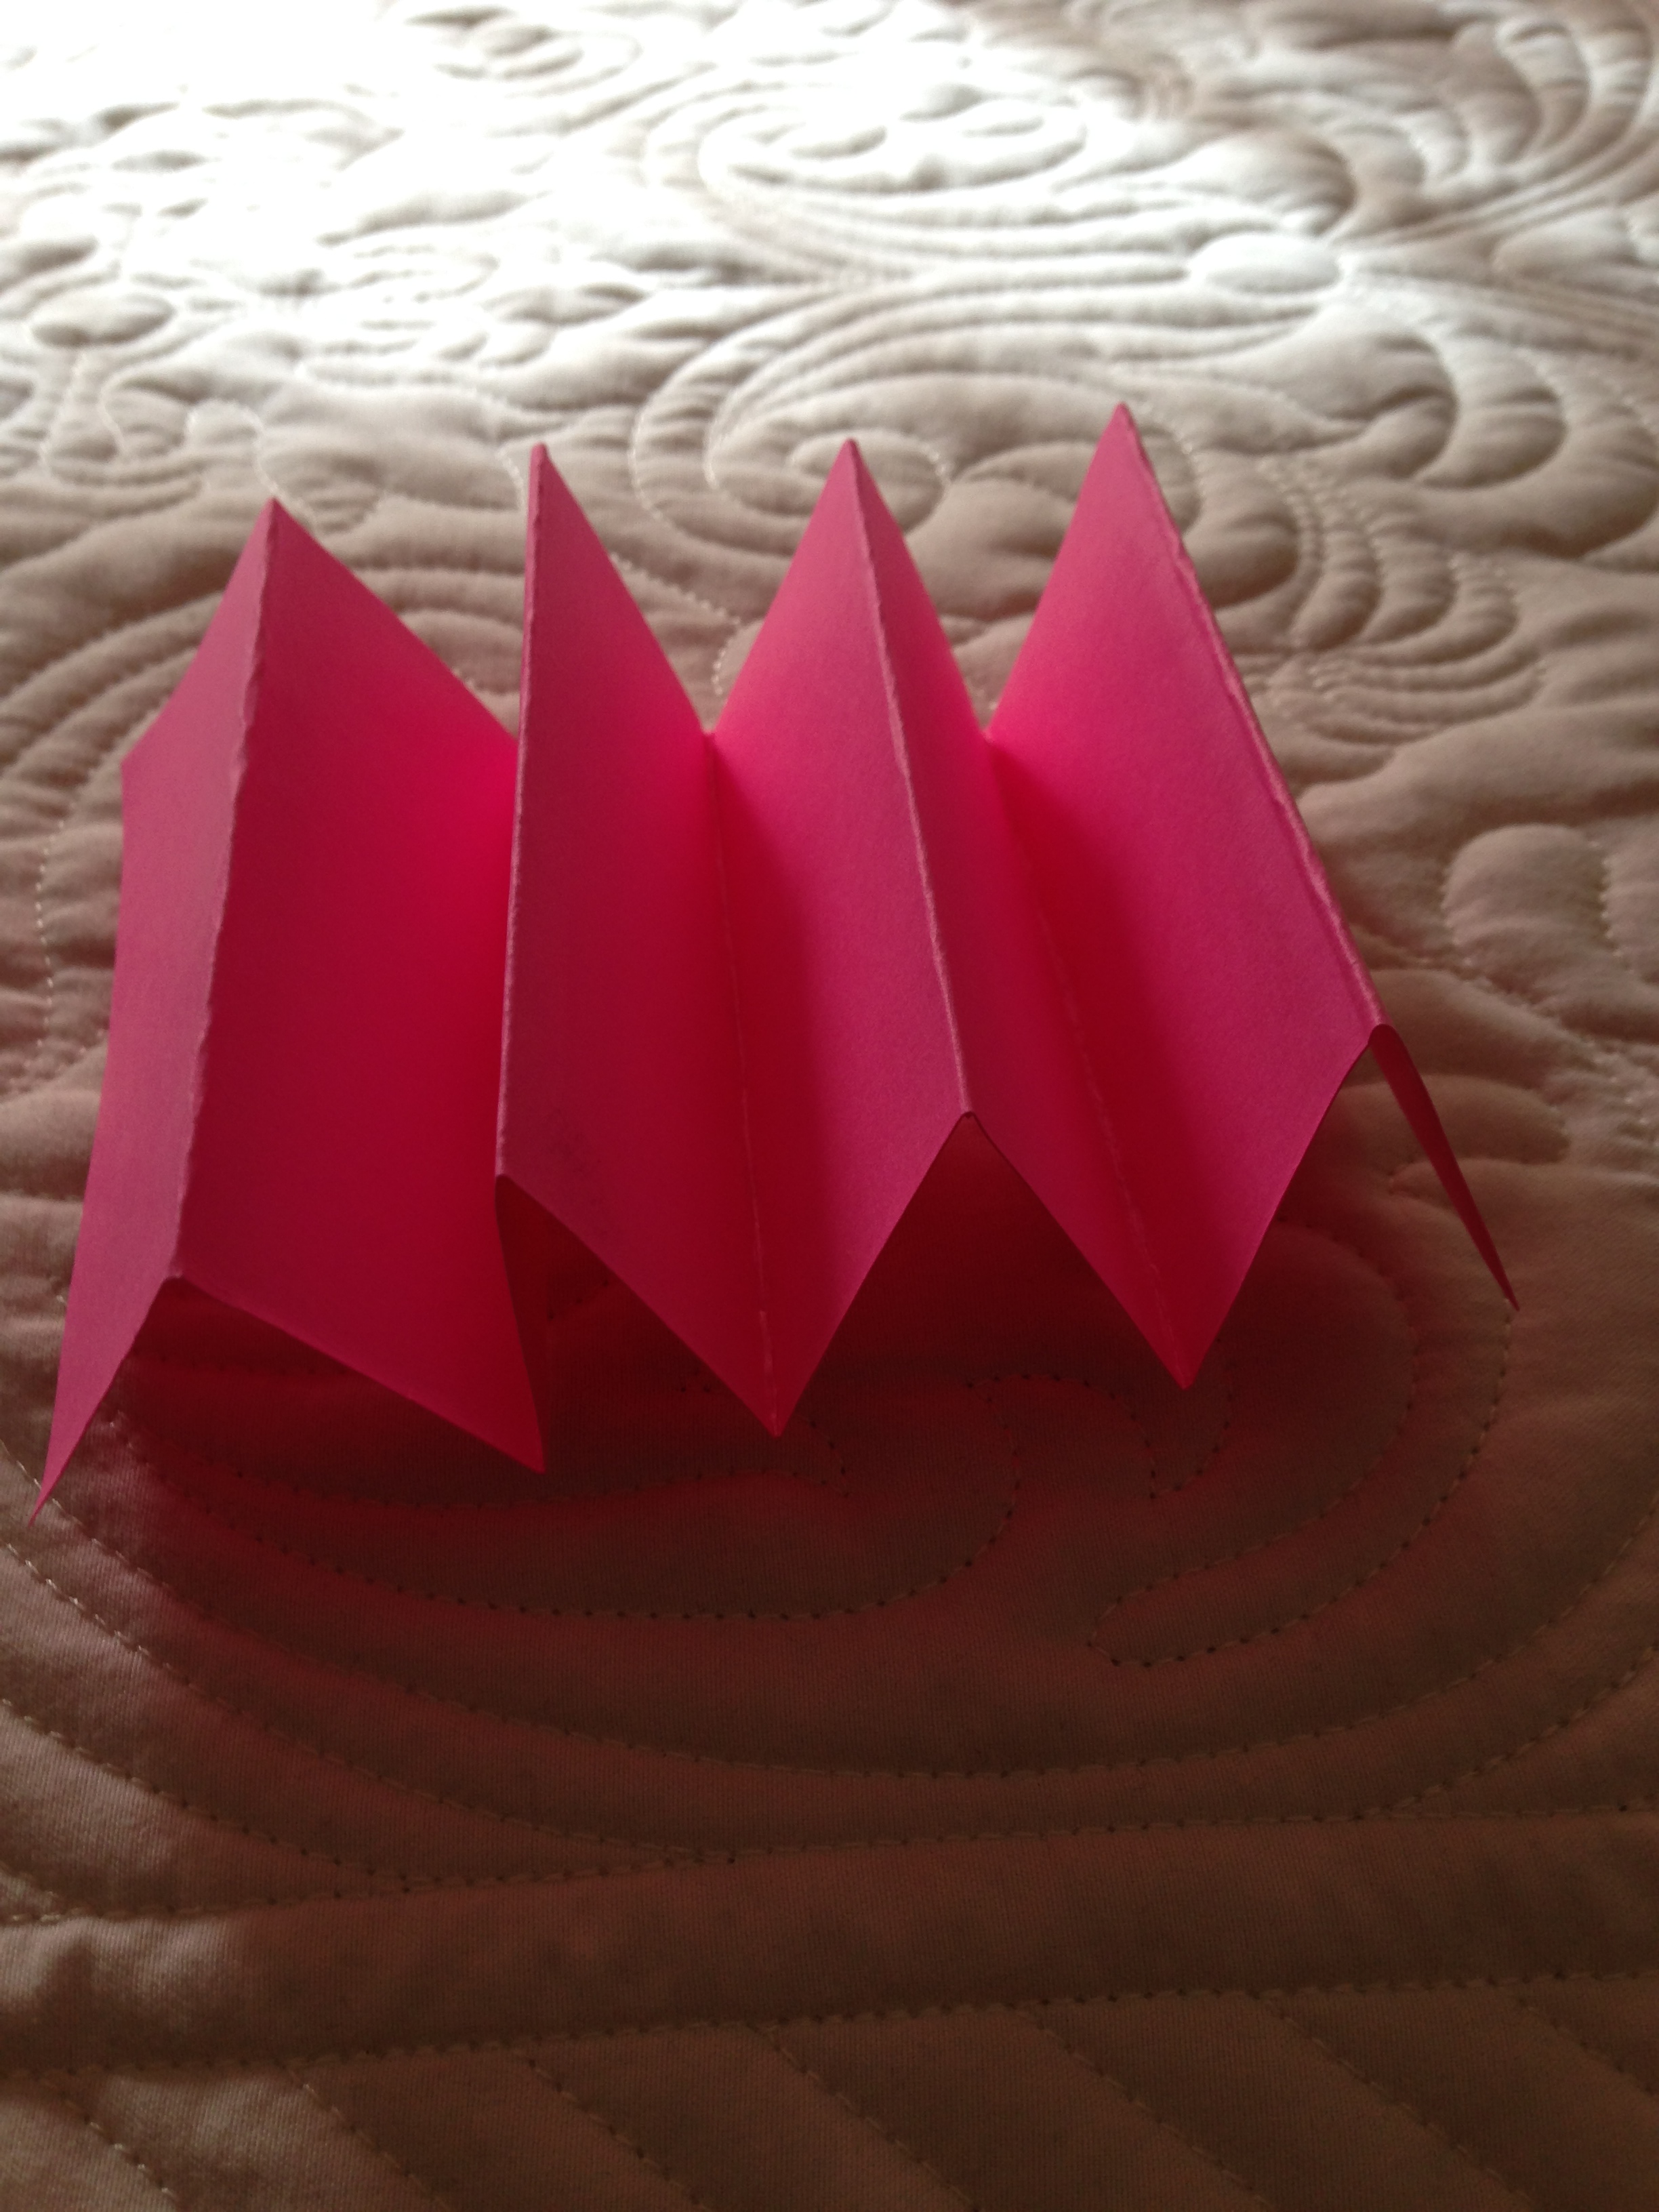
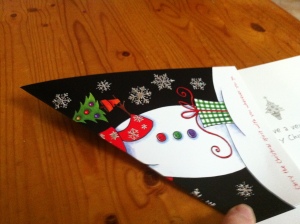
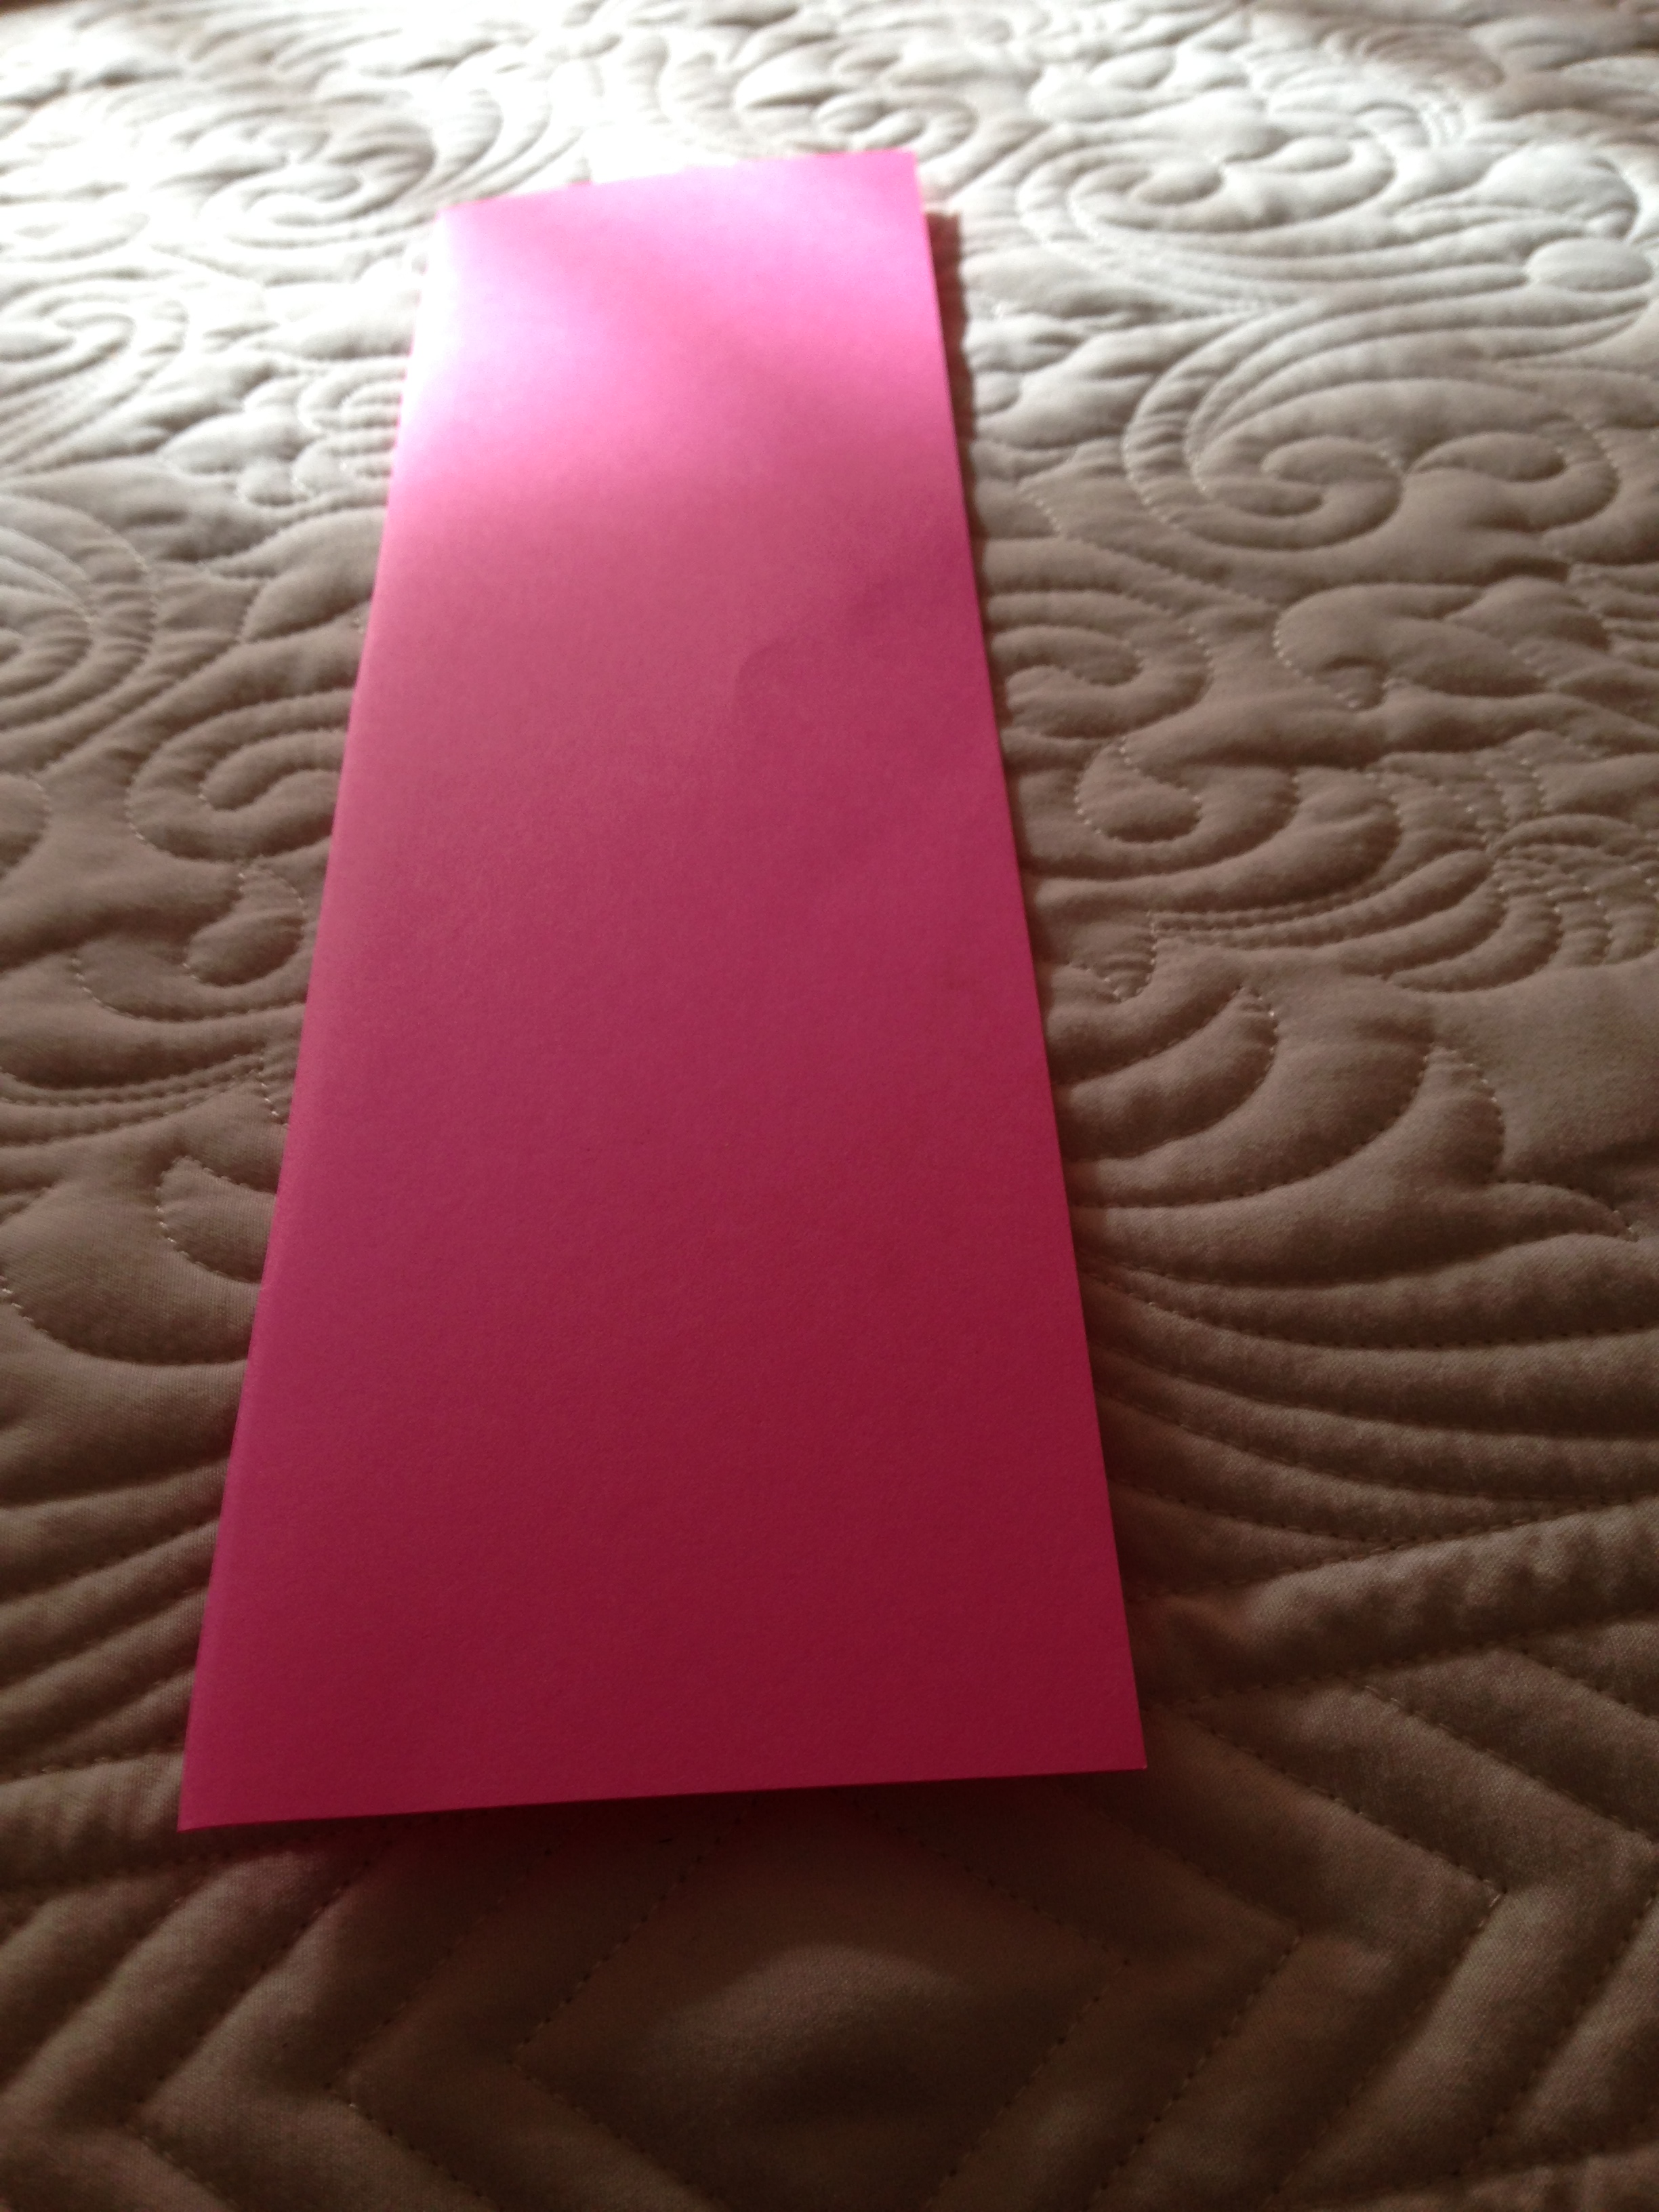
This is a long strip of card stock paper in shocking pink. I leave the choice of paper quality and color up to your personal preference.  Nothing is written in stone here.  Fold it in half width-wise three times, and then using the fold lines as guides, fold it back and forth accordion style until your fingers hurt and it looks like this.

003

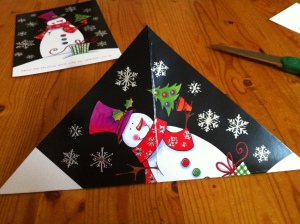
Then fold it up flat again with the four folded edges where you’ll do your cutting.   If you’re very adventurous you can just cut it free hand and see what happens, or you can draw something like this as a guide.

004

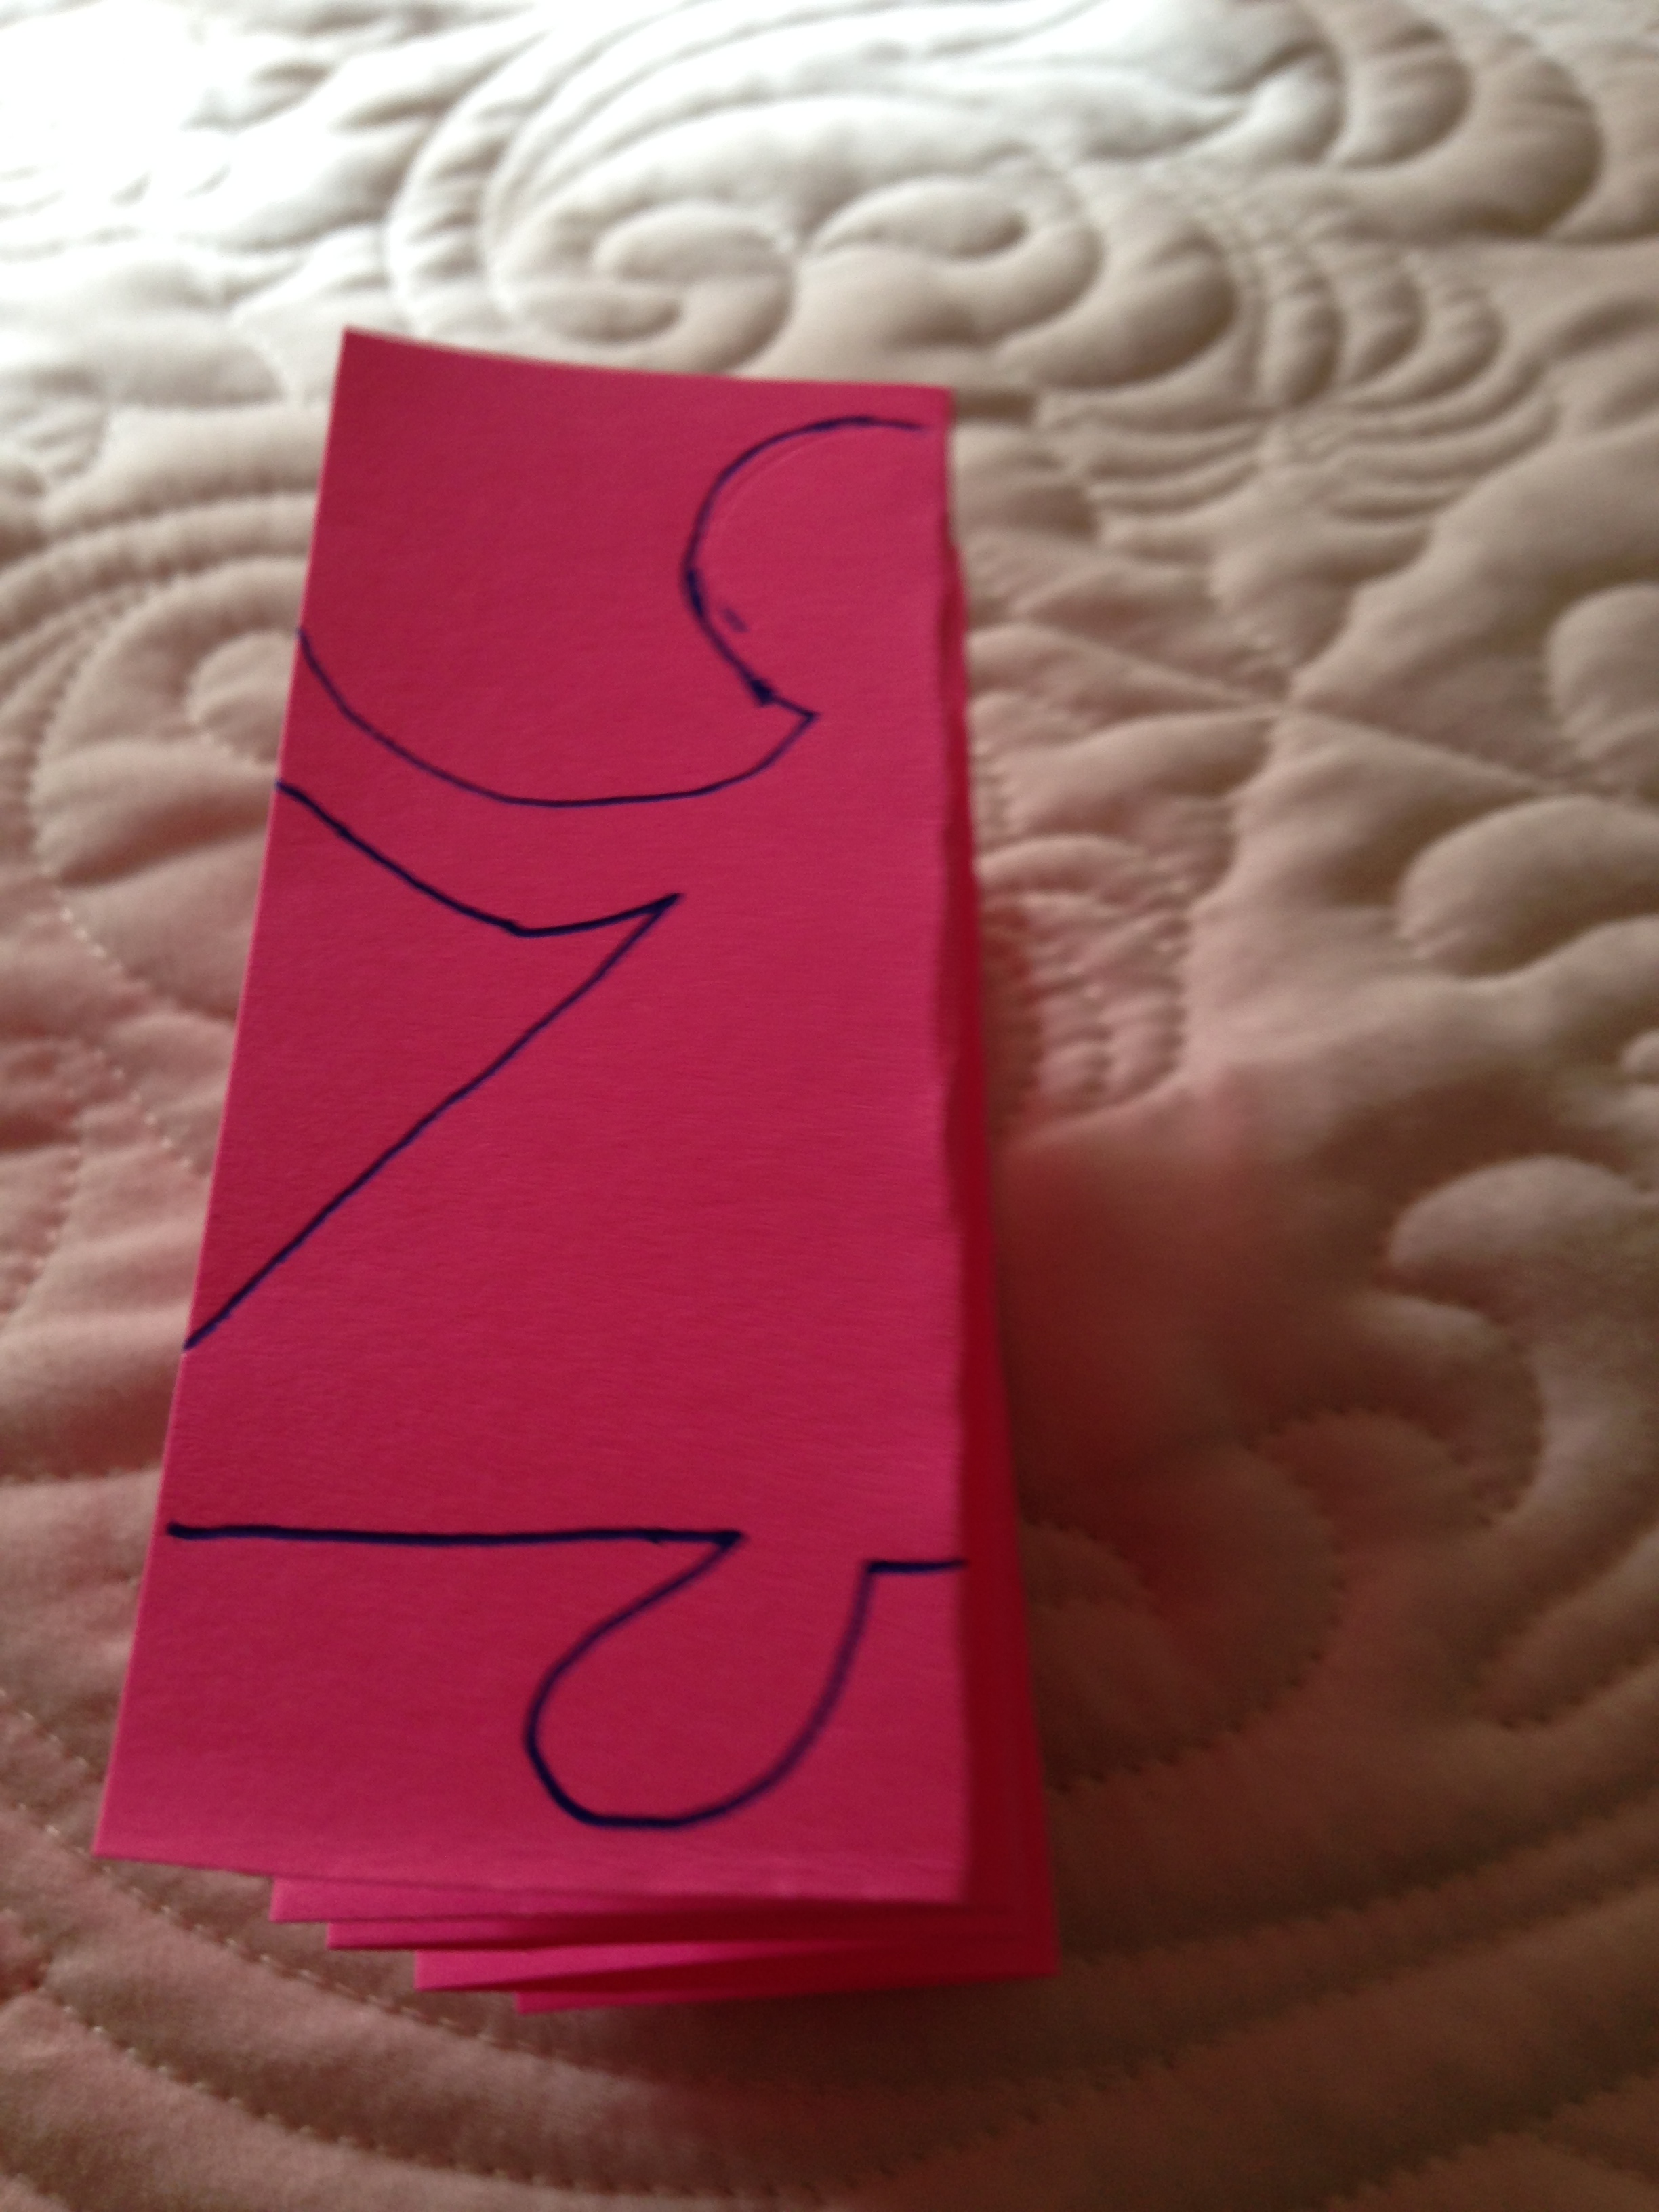
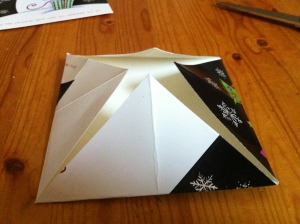
Find some big sharp heavy-duty scissors and cut this out.  It’s all coming back to you, right?  Now we all remember why we never used heavy card stock paper with those blunt and awkward little-kid scissors.

006

Taa Daa!  A normal person might stop now, after admiring this for a sufficient ego-stroking amount of time, but the child in me can’t seem to leave well enough alone.

007

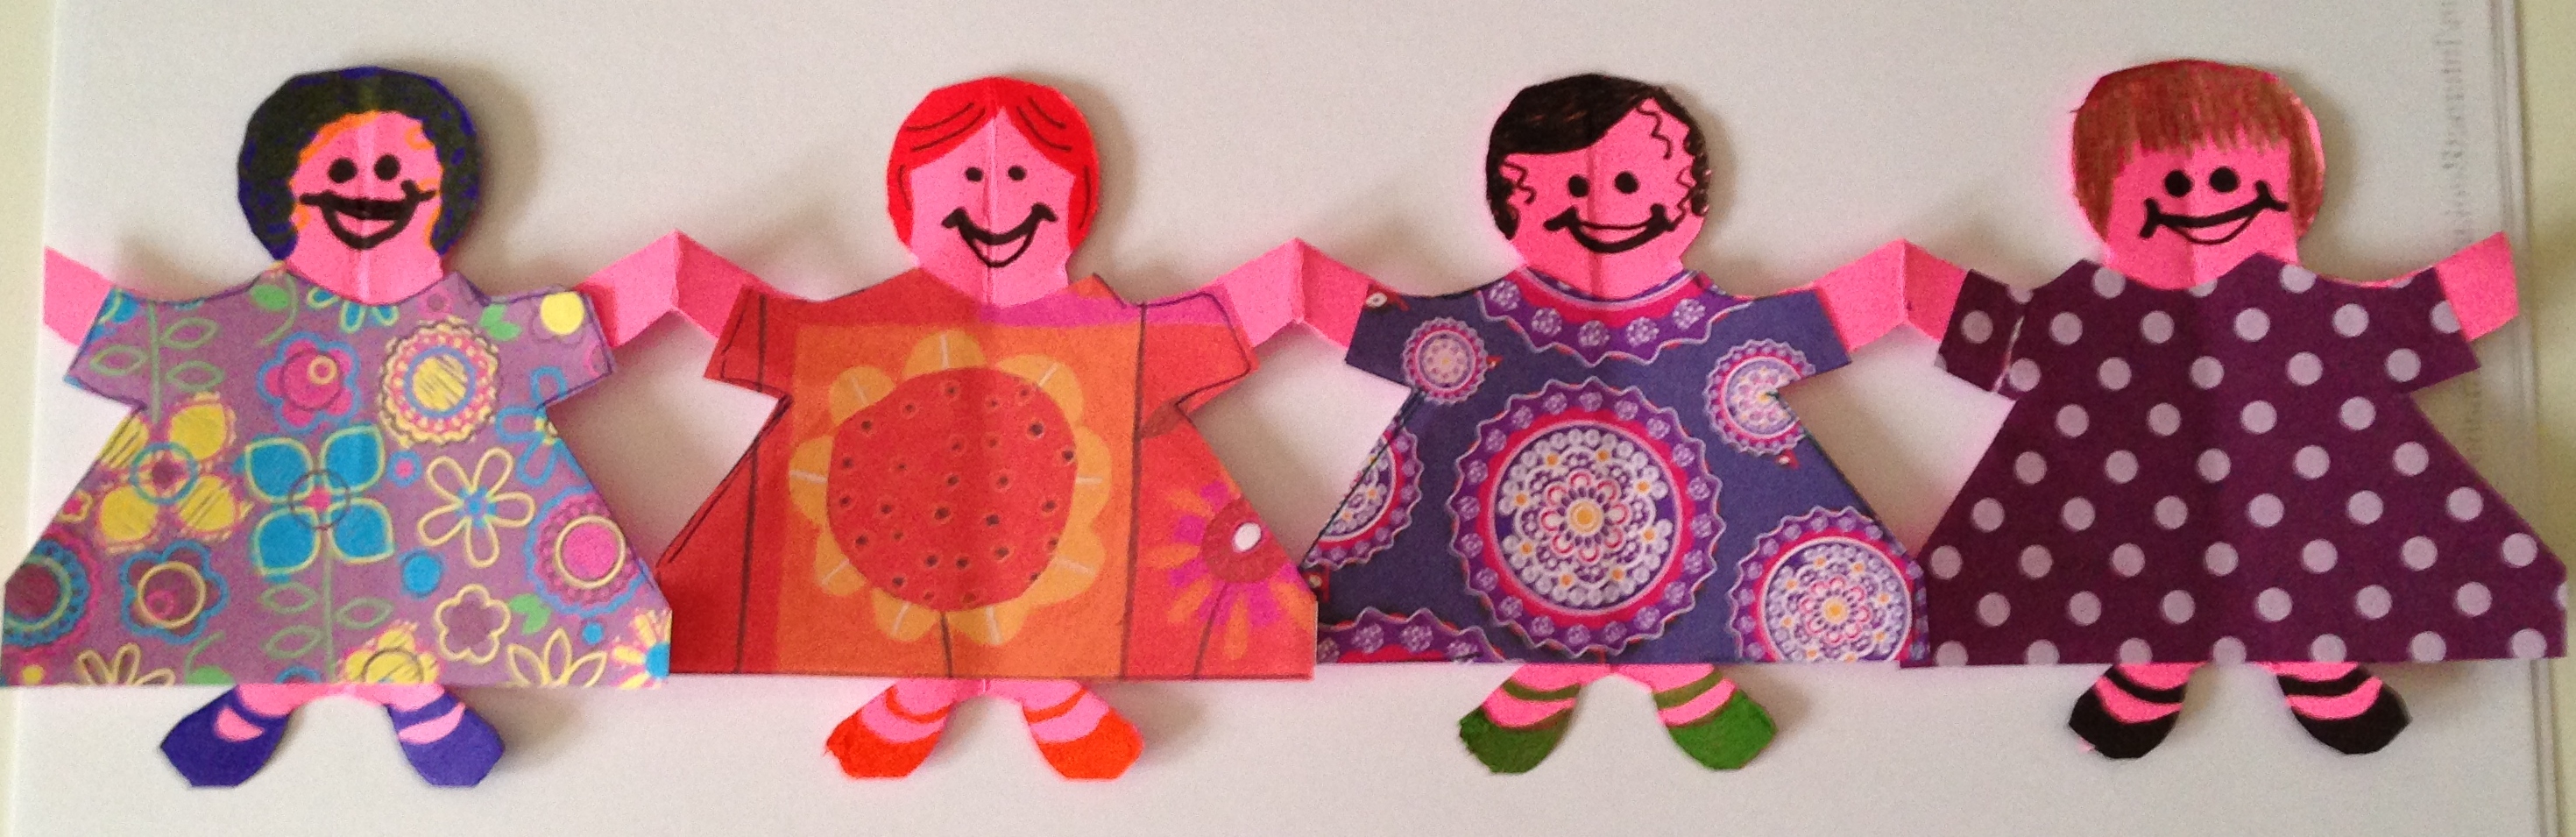
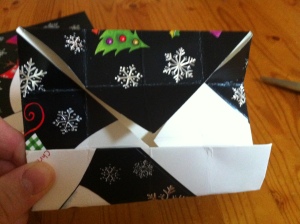
There, now we’re done, because we’ve added awesome hair (some of it appears to be facial), big smiles, cute dresses and colorful mary-janes.

Come on, wasn’t this a lot more fun than a post about connecting to some dumb social network like Facebook or Twitter?  Never mind that it will be connected to both of these when I hit the publish button.  That’s completely beside the point.

Did you make these, or some variation of them when you were little?  What have you done today that’s completely silly but insanely fun?

Cin’s Feb Challenge Day 24 – Connect

Citrus Candles

IMG_0687

Well how incredibly easy does this look?  I use a lemon every day in my breakfast smoothie and tried for days to ‘leave the center core-like stem intact’.  Those things have a death wish.  But eventually I got serious, and was able to leave not only the stem but lots of the veiny section separaters in a pulpy mess in two lemon halves.

I left them sitting on the kitchen counter for several hours, hoping the juice and moisture would evaporate and that W would not throw them in the compost bin.  Neither of these things happened.

Then I lopped off a little piece of the bottom of each half so they’d sit less tipped over on their sides and poured some coconut oil into each one.

A huge dose of dogged determination and half a box of matches later, VOILA!

002

We have fire, some spilled oil, and one more to go.  I know, beautiful, right? Actually they look much better in the dark.

008

They did burn for hours as promised (at least two, but definitely didn’t make it to three) with a lemony coconut aroma that was only discernible if you got close enough to them to singe your eyebrows.

Would I recommend this craft to everyone who likes crafts?  Of course I would.  Why should I be the only one swearing at gutted lemon halves?

This post is in response to Cin’s Feb Challenge Day 22:  Finger paint/messy craft, written by someone skilled in the art of making even the simplest projects difficult and messy.

Those Little Christmas Card Boxes

By popular demand (okay, one person asked for a picture but that’s popular enough for me) here’s how to make delightful little boxes from old used (or brand new if you don’t save old ones) greeting cards.

1. Find two Christmas Cards.

I used two cards, one for the top and one for the bottom of the box.  You can also cut a card in two and use the front for the top and the inside for the bottom.  It makes a smaller box. Both pieces have to be the same size and square.

2.  Making it Square

2. Making it Square

So fold a corner up to an edge so that the fold is the diagonal from one corner to the other and cut off the excess on the side.  This is so incredibly easy to do and so unbelievably confusing to put into words.  Make two same size square pieces.  I don’t really care how you do it.

3.  A Square with a diagonal fold.

3. A Square with a diagonal fold.

4.  Making the other diagonal fold

4. Making the other diagonal fold

Next make a diagonal fold between the other two corners.  Then fold every point into the centre where the two folds cross.

5.  Folding the points into the centre.

5. Folding the points into the centre.

Fold each flat side into the middle (and then back out), one at a time, so that when you open the whole thing up it’s completely covered in little scored squares.

6.  Folding the flat sides into the centre.

6. Folding the flat sides into the centre.

7.  The card is now a whole mess of little squares in every direction with triangles at the corners.

7. The card is now a whole mess of little squares in every direction with triangles at the corners.

The center four little squares are the bottom of the box.  Or the center of the lid, depending on which one you’re making, but they’re both the same so it doesn’t matter what you call them.

From opposite corners on either side of the little triangle, make a cut from the outer edge to the edge of that little four squared center.  So two corners, two triangles, four cuts in all.

8.  Making the four crucial cuts.  If you screw this up, I'm going to be so disappointed.

8. Making the four crucial cuts. If you screw this up, I’m going to be so disappointed.

Those two floppy pieces that you’ve just cut free from the square when folded in will be the two sides of the box that have flat edges and no points to fold in.  If that makes no sense, please ignore it and look at the picture.

Fold them towards the centre section by section, like rolling them up in folds.  Then do the same thing with the other sides.

9.  Folding the flat sides in to the centre.

9. Folding the flat sides in to the centre.

Then you turn the box so that you have a pointy ended side in each hand with the flat side in the middle.  Fold the points in until they meet or cross or whatever the hell it is they do, and then fold the flat side over top of them to hold them in place.

10.  Fold two pointy sides under the flat side.  Crap, even I don't really understand what happened in this picture.

10. Fold two pointy sides under the flat side. Crap, even I don’t really understand what happened in this picture.

Repeat that for the other side.

11. One side done, one to go. Folding the flat side over the overlapping pointy sides.

For some reason or other, if you’re aggressive enough and pinch the corners, the whole thing holds together.

12.  Yay!  If this is sort of what you ended up with, you're halfway there!

12. Yay! If this is sort of what you ended up with, you’re halfway there!

Don’t even think about stopping until it looks like this.  And then you get to start over and make another one exactly the same.  Gawd, are we having fun yet?  Then you use what’s left of your aggression to fit the two pieces together to form a cute little box.

13.  Top plus bottom equals box.

13. Top plus bottom equals box.

Ta Da!!

14.  Right side up

14. Right side up

15.  Upside down.

15. Upside down.

I don’t know about you, but now I need a drink.  These little boxes are a perfect size for jewelry or lip gloss or hair accessories.  Or you can just decorate with them, by placing about six empty ones under your tree as a joke.

But do trust me on this one – little girls love these little boxes almost as much as they love little purses.  You might have to make a couple dozen for all the tiny treasures they’re going to want to stash away inside them.

Duct Tape Sunday

photo

Sunday is not always a day of rest.  It can also be a day of unbelievable boredom.  Our little shop of horrors should not be open on a day when there is nothing to do except check the clock every ten minutes to calculate how many more minutes are left before we can close the doors and go home.  It’s amazing what some people get paid to do isn’t it?  But come on, do you know how HARD it is to look busy when there’s nothing to do?  Sorry, I’m not giving away my secrets. Besides I think it’s a natural talent that can’t be taught to just anybody.

Our granddaughter Kenzie has been here this weekend with her dog and her duct tape.  She makes Barbie furniture and accessories, wallets, purses, flowers, picture frames, hair bows, bookmarks and a big mess with bits and pieces of duct tape everywhere. Amazing stuff.  She looks on YouTube, finds something she likes and sits down and makes it.

While she does this, I make little boxes out of old Christmas cards.  These are the worlds smallest gift boxes, and I’m not making them merely because I’m nuts. There are some very small gifts that are hard to wrap and this makes it all easier.  Plus incredibly more fun.  I hope that sounded convincing.

Here’s some great music to craft by.  Play it loud enough and no one will hear you crying about your paper cuts.